


The Art of Achieving Authentic Film Looks on Digital

It’s widely agreed that digital film can often feel a bit clinical in its aesthetic, with crisp, sharp images that don’t match our realities. On the other hand, celluloid film can sometimes look too nostalgic for certain projects.
This is where a ‘digital to film to digital’ (DFD) process can come in. DFD involves adding real film grain and texture to digital images to offer the best of both worlds. It is one of the many film crafts that Cinelab Film & Digital - the UK’s only full-service film lab and digital dailies facility - specialises in.
In this interview, LBB speaks to CEO Adrian Bull who explains the art of DFD, exploring its benefits and identifying exactly when this process should be used.
LBB> In what instances would someone choose to opt for a ‘digital to film to digital’ (DFD) process? Rather than shooting straight on film?
Adrian> The aesthetic of film is something cinematographers and colourists have tried to emulate in digital photography since it became popular in the early 2010s. The advantages of better monitoring and longer roll times during digital acquisition can be appealing to certain productions and help balance the books if higher shooting ratios are required but the overall organic nature of film and its distinct look is still unrivalled and still sought after by many DOs.
The DFD process can allow productions to take advantage of the technology associated with digital capture whilst still retaining a true film look. It includes adding real film grain and texture to the digital image – it can have quite a dramatic impact on changing the otherwise very clinical digital look.
This technique can be utilised for several purposes:
- Digitally acquired footage that you want to look like film
- Hybrid shoots where you would like to unify the look.
- Bedding in VFX shots to make them look more realistic
LBB> How commonplace is this process?
Adrian> This technique is used regularly for commercials and music videos, and it is increasingly being utilised for longform TV and features. Recent films to utilise a DFD process include DUNE (2021), THE BATMAN (2022), and Cinelab recently delivered DFD work on THE WONDER (2022), directed by Sebastián Lelio and lensed by director of photography Ari Wegner. The film, starring Florence Pugh, is currently out in cinemas and will be available on Netflix later this month.
LBB> How easy is this process to achieve? Are there any technical challenges or things to be aware of?
Adrian> There are three key steps associated with the film out process.
Film recording - transferring the digital content to film
Processing – developing the new film
Scanning – scanning the developed film
Cinelab provides all three of these services which makes it possible for us to cover every step of the process in-house. This allows us to simply and easily overcome any of the technical challenges that may arise during these processes and fix them efficiently.
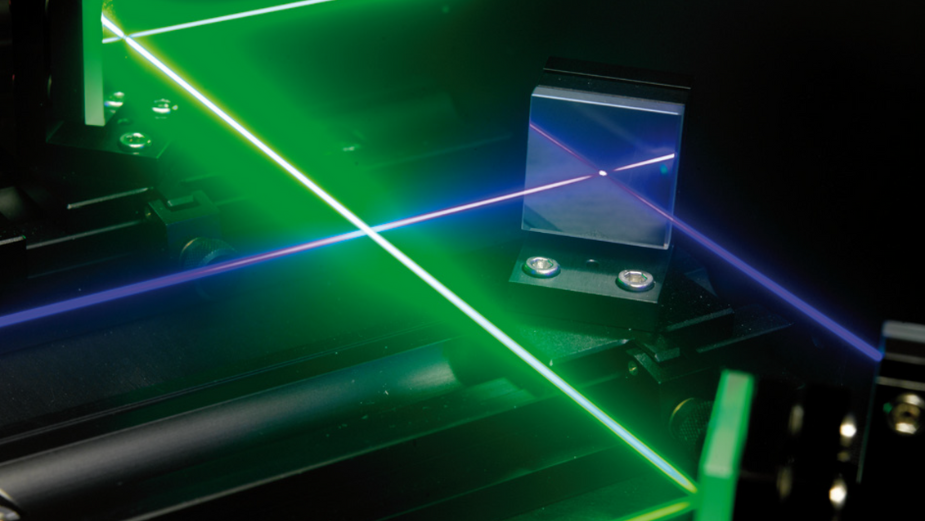
One of the biggest technical challenges we had to overcome was recording to OCN (original camera negative). OCN is much more sensitive to light than DI neg which makes the process of setting up the lasers a fine art and we’ve gone through a lot of testing and development of the get out settings optimised for both 250D and 50D stocks.
LBB> What different creative looks can be chosen?
Adrian> We usually record to a digital intermediate negative stock (Kodak 2254), which has a fine film grain. Alternatively, for additional grain we can record to original camera
negative stock (250D/50D).
We can also authentically reproduce the grain size and look of full frame 35mm, Super 16mm, or Super 8mm.
At the print developing stage we can pre-flash the stock, to add a colour cast to the film. We can record to a panchromatic black and white negative, to achieve high-dynamic range with rich blacks. Creating a celluloid strip also allows for drawn-on-film animation, the technique of drawing or scratching directly on the film as seen in the Diesel commercial.
LBB> In terms of cost, how does it compare to shooting straight on film?
Adrian> This can be dependent on many factors such as shooting ratio, camera formats, number of cameras and lenses choices. If you expect to have a heavy shooting ratio shooting digital can prove to be a cheaper option but you do need to factor in that many studios / streamers now require 4k native acquisition which often means more expensive camera packages and large format lenses not to mention additional staff such as your DIT department.
Shooting straight to film can be cheaper if you’re only shooting one or two cameras with a relatively modest shooting ratio however for multi camera setups with multiple units, large volume’s of VFX the DFD process can prove to be a cheaper option.
LBB> What needs to be done to prepare a digital file for recording on film?
Adrian> In preparation for the film recording process content should be graded and any VFX work should be completed. The project should then be exported as DPX in either the camera native colour space (LOG), Rec709 or P3. Many commercials opt to deliver Rec709 or P3 but for longform projects we would suggest exporting a GAM (graded archival master). This is effectively all your grading data in the camera native colour space with your output transform (Show LUT) disabled. This will help retain all the dynamic range of the source data.
After that, we use the ARRILASER 2 to transfer your digital file to negative. Images can be scaled to any size within the 35mm frame up to 4K resolution.
To accurately simulate Super 16mm or Super 8mm grain size we can record your digital data to a reduced patch size within the 35mm frame. We record to a DI negative stock such as Kodak 2254 or 250D/50D OCN. The recorded negative is then developed using our Photomec ECN2 processor.
LBB> How is the film then scanned back to a digital file?
Adrian> The developed negative is then scanned at up to 8K resolution using our OXscan, Arriscan or Scanity HDR to create a new digital file with the desired film look. We will then deliver this back matching as closely as possible to your source data. We would usually recommend a final grading pass is applied to create the finished master.


